Set Up Direct Routing
Instructions
Ensure you have the correct Microsoft Office licensing. You must have at least 1 available AND unassigned User license with the Phone System or comparable add-on that allows you to use Direct Routing. Relevant available licenses will be displayed on the Direct Routing page.
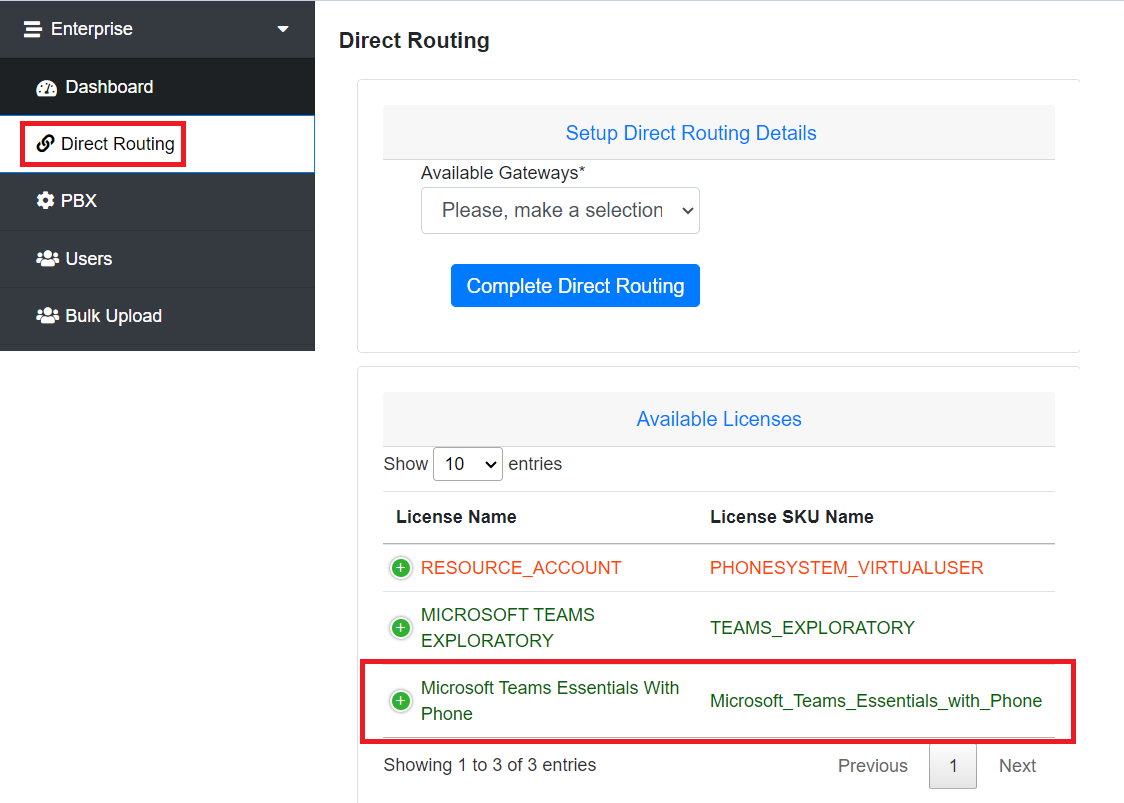
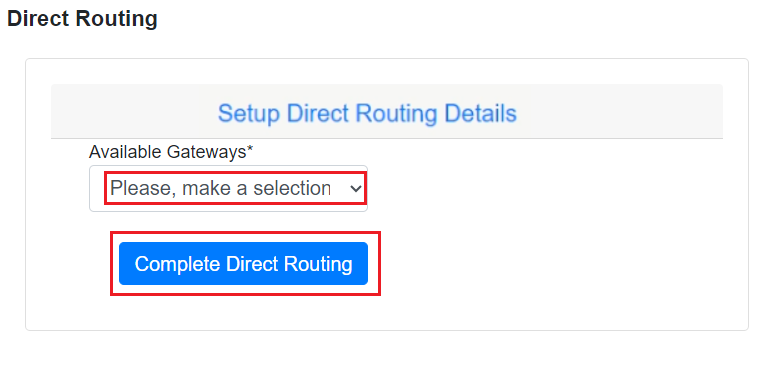
Under Setup Direct Routing Details, select the desired Gateway.
Then click the Complete Direct Routing.
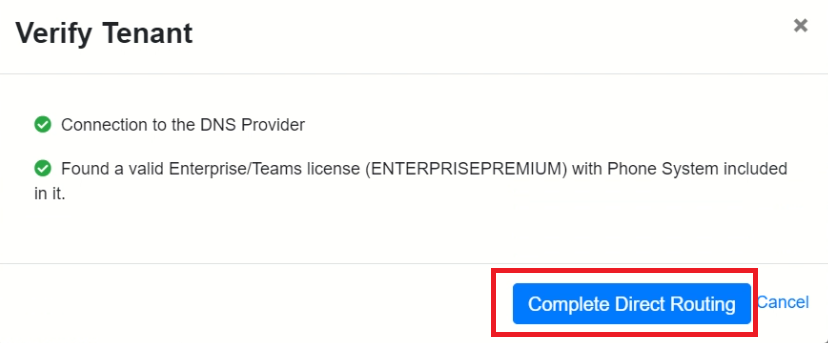
The "Verify Tenant" will pop up, verifying the connection to the DNS Provider and validating licenses.
- Click "Complete Direct Routing" as soon as it is done with the verification.
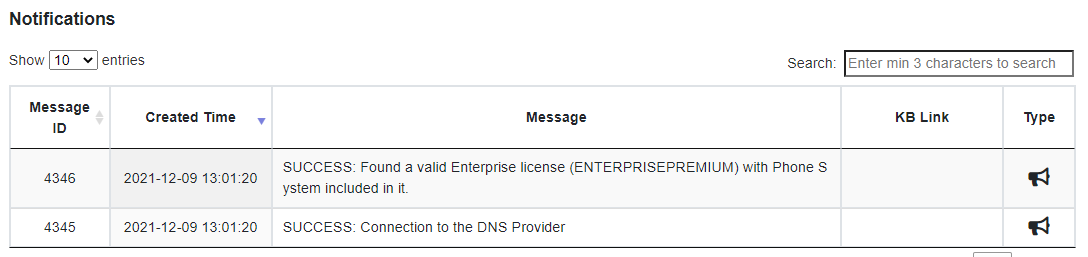
- Note: This process will create a log in the activity feed. See below.
Direct routing provisioning will take a few minutes, so refresh the page after 2-3 minutes to check progress.
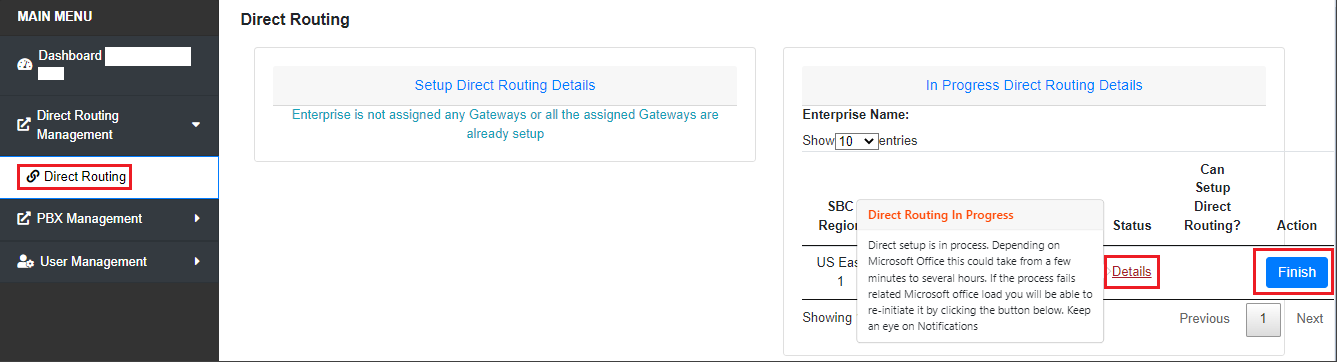
Direct Routing in Progress

When the Direct Routing setup is complete, you will receive an email at the Enterprise email address instructing you to continue to PBX Settings, User Management, and Teams Management (Application set up). On the Enterprise portal dashboard, your Direct Routing Connection Status will be displayed as complete.

If the direct routing process completes and the "Calling Enabled" indicator is still showing as red, like the screenshot below,
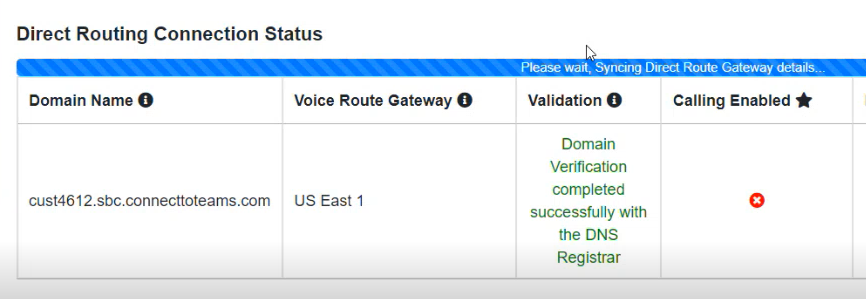
Initiate the direct routing process by clicking on the “Finish” button on the right side of the Direct Routing page.
If that does not resolve the issue please open a ticket with support.
Configuring a Secondary Route
It is now possible to configure a secondary route in Microsoft for redundancy.
Adding Additional Routes
If desired, it is possible to set up additional direct routes.

The form will be the same as the initial Direct Route.
Each direct route creates a different Direct Routing User and consumes a Microsoft license, so remember to recover your licenses in the Microsoft Admin Center when you are done.