Grandstream GXW410X PSTN Gateway Setup
Prerequisites
- Reseller or Higher scope
- Access to create a SIP Trunk
- GXW410x with Firmware version 1.4.1.5
The device can not be added like a normal device; support will need to add the device manually.
Account Setup
The Gateway requires a SIP Trunk connection to forward the calls properly. If normal user device information is used, the system will reject the call because of an incorrect IP match.
Please see this article first before proceeding. Create a SIP Trunk.
If you cannot create a SIP trunk, please get in touch with support for assistance.
Device Setup
These steps will get the basic device settings that we have tested applied to the device.
- Log into device
- Navigate to Maintenance -> Upgrade/Provisioning.
- Set "Upgrade Via" to be HTTP

- Update the "Config Server Path" to be endpoints2-yyc.iplogin.ca/cfg

- Ensure DHCP Option 66 Override is disabled.

- Save and Reboot the device.
Account Setup
These steps will get the sip trunk registered to the device.
- Log back into the device.
- Navigate to "Accounts" and under Account 1.
- General Settings
- Account Name - any name desired (optional)
- SIP Server - trunk name
- Outbound Proxy - enter sip.siplogin.ca
- General Settings
- Under “User Account”
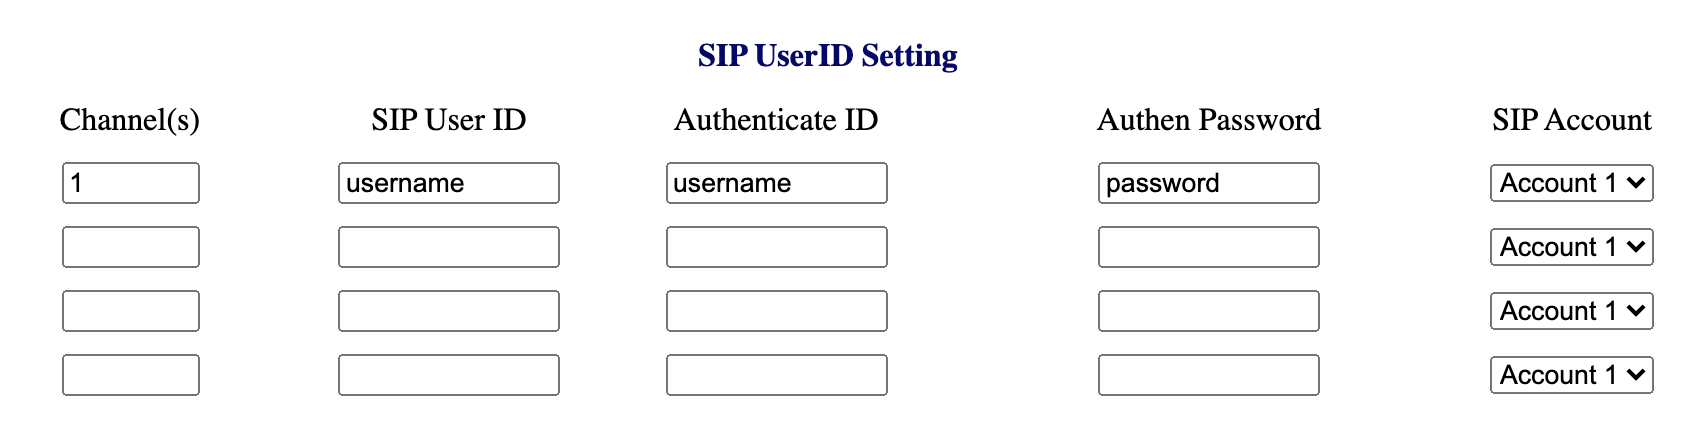
- Channels - in the top row, enter the number 1
- SIP User ID - The SIP User ID from the SIP Trunk creation steps
- Authenticate ID - Same as SIP User ID
- Authen Password - the SIP Trunk Password generated when the trunk was created.
- Press Save and then reboot the device.
The trunk should now be registered.
Set Call Forward
This will allow all inbound calls to this line to be forwarded to a SIP user, Auto Attendant or DID in the domain.
- Login to the device.
- Navigate to Settings and then “Channels Settings.”
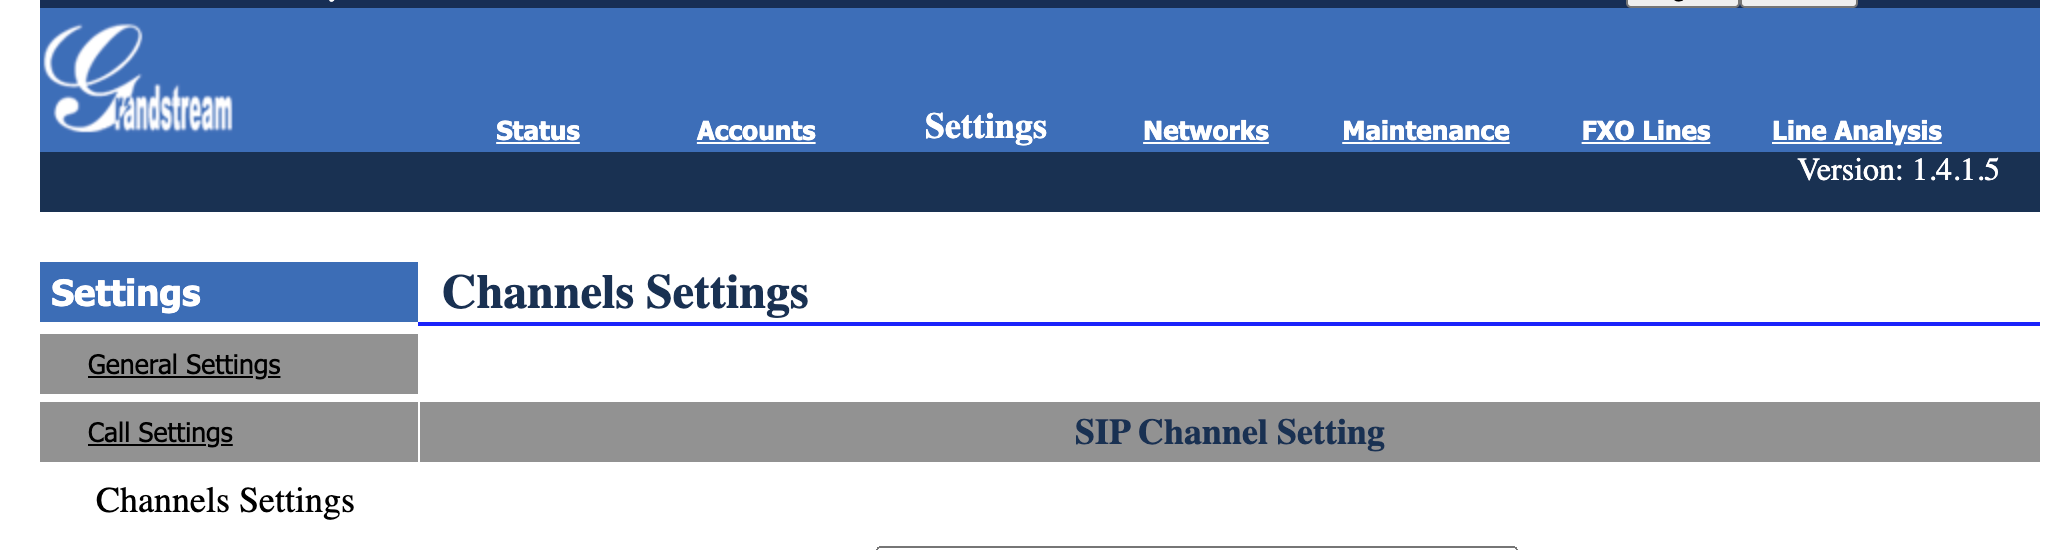
- Under the Calling to VoIP section, update the User ID section to be your desired destination.
Example 1: To forward all calls to a DID, you would set the following ch1-4:1234567890;
Example 2: To forward all calls to an Auto Attendant, set ch1-4:53xx; (53xx = the AA's extension in the portal). - Once done, press save and reboot.
Once all of this is set up, you can call the analog number and receive inbound calls to your domain.