Grandstream GXW4501 Setup
Table of Contents
Prerequisites DescriptionThis document describes how to link a legacy PBX (e.g. Nortel, Shoretel, Cisco, Avaya, etc...) to a Grandstream PRI Gateway; the gateway then connects to Unitedcloud via a SIP Trunk and can process inbound and outbound calls. SIP Trunk Setup Confirm Successful Registration Digital Trunk Setup Interface Settings Inbound Routes Digital Trunk Inbound Routes SIP Trunk Inbound Routes Outbound Call Routes Outbound to PSTN Outbound to PRIPrerequisites
SIP Truck credentials.
If this is a brand-new device, please log in and follow the setup wizard for the network settings. All other settings will be set up by following this article.
Description
This document describes how to link a legacy PBX (e.g. Nortel, Shoretel, Cisco, Avaya, etc...) to a Grandstream PRI Gateway; the gateway then connects to Unitedcloud via a SIP Trunk and can process inbound and outbound calls.
Set up a SIP trunk on a Grandstream GXW4501 PRI Gateway. This will allow integration of Analog PBX's
SIP Trunk Setup
-
Log into the Grandstream GXW4501's webgui. The IP address can be found on the screen of the device itself.
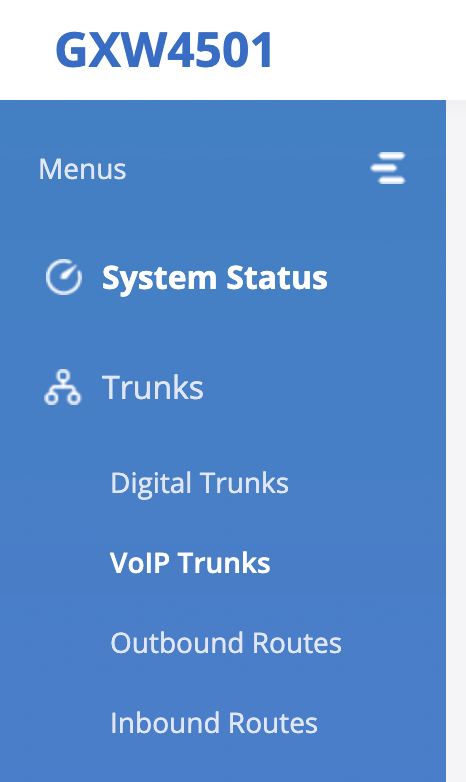
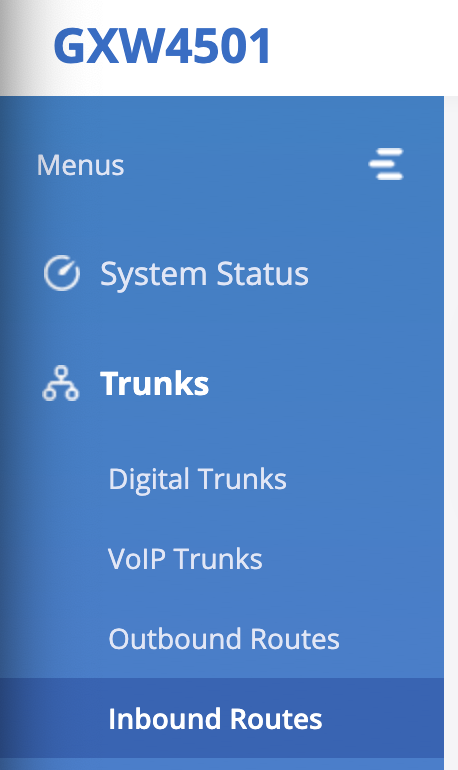
- Once logged in, from the left-hand menu, navigate to Trunks -> VoIP Trunks.
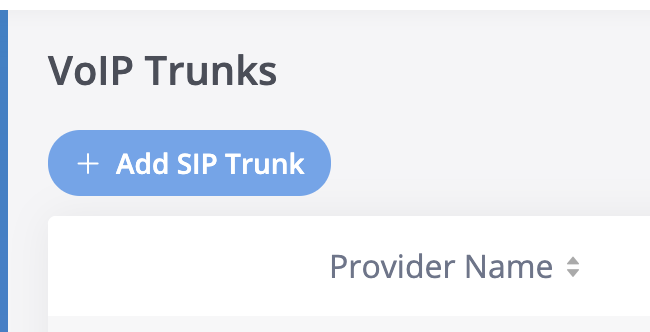
Select "Add SIP Trunk" from the top menu.
- Fill in the required information.
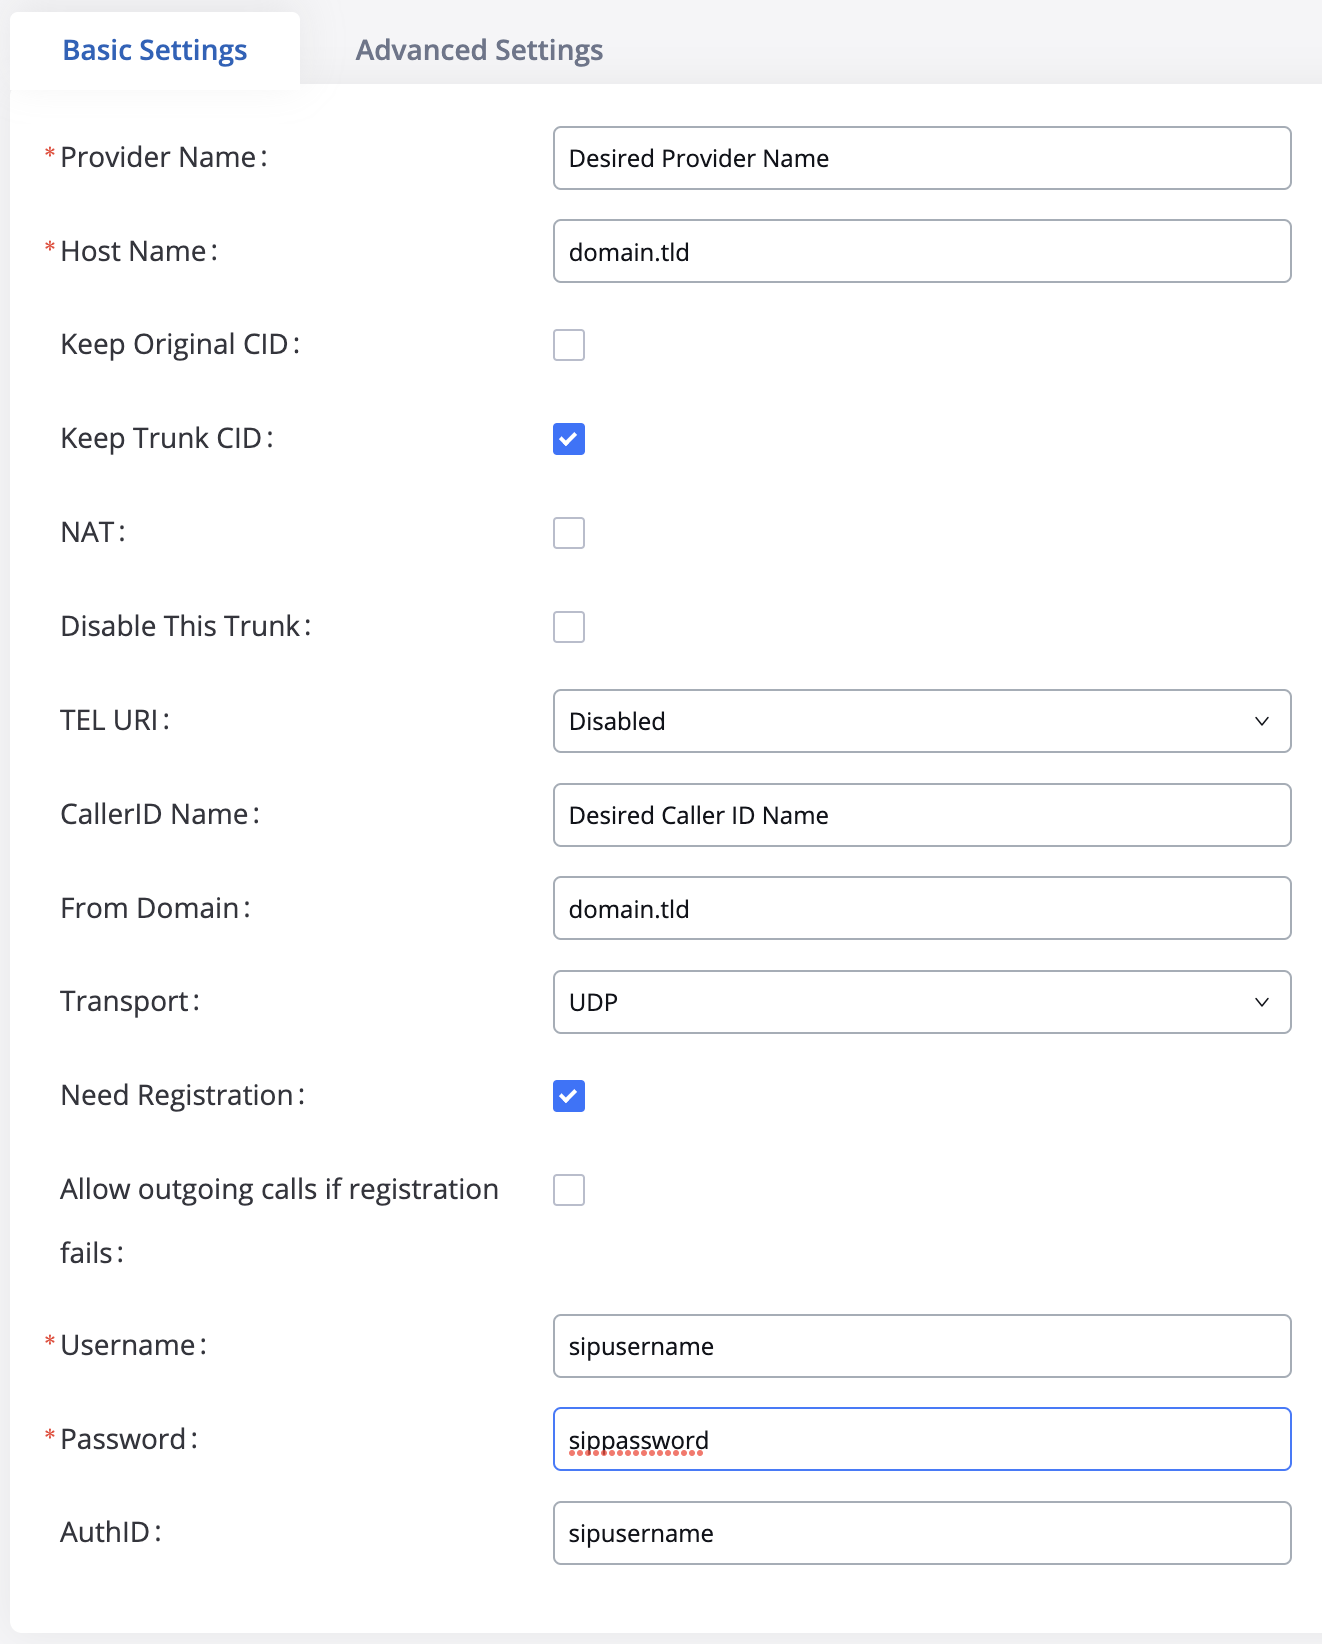
- Type - Register SIP Trunk
- Provider Name - Enter the desired provider name you wish to use to identify the connection
- Hostname - sip.siplogin.ca
- Keep Original CID - this is your preference on how CID is handled.
- Keep Trunk CID - this is your preference on how CID is handled.
- NAT - This is dependent on how your network is setup. If the PRI is behind a router, it is advised to leave this disabled.
- TEL URI - Leave as Disabled.
- From Domain - the domain name as shown in the portal.
- Transport - Leave at UDP for the default, unless otherwise directed to use TCP by support.
- Need Registration - Enabled.
- Allow Outgoing calls if registration fails - Disabled.
- CallerID Name: Trunk caller ID if using a global caller ID name.
- Username - SIP Username .
- Password - SIP Password.
- AuthID - SIP Username.
5. Press Save in the top right-hand corner.
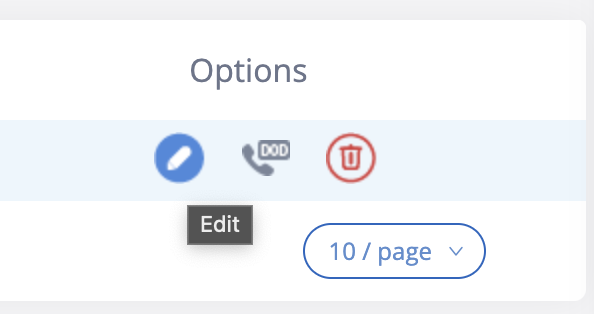
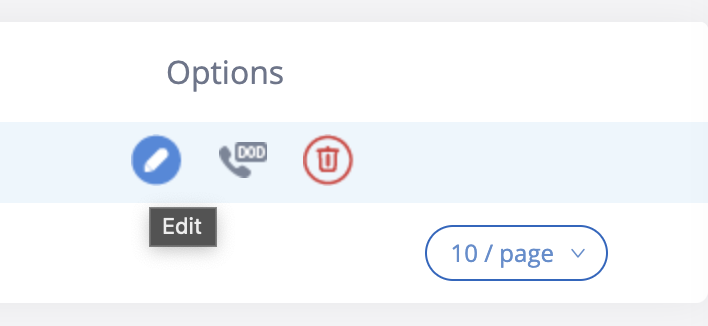
- You will now be taken back into the VoIP Trunk list. Click Edit on the trunk you just created.
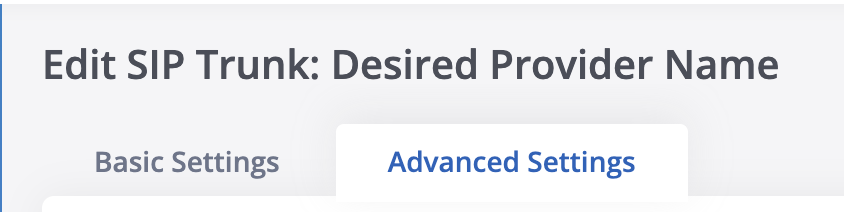
- Navigate to the Advanced Settings Tab.
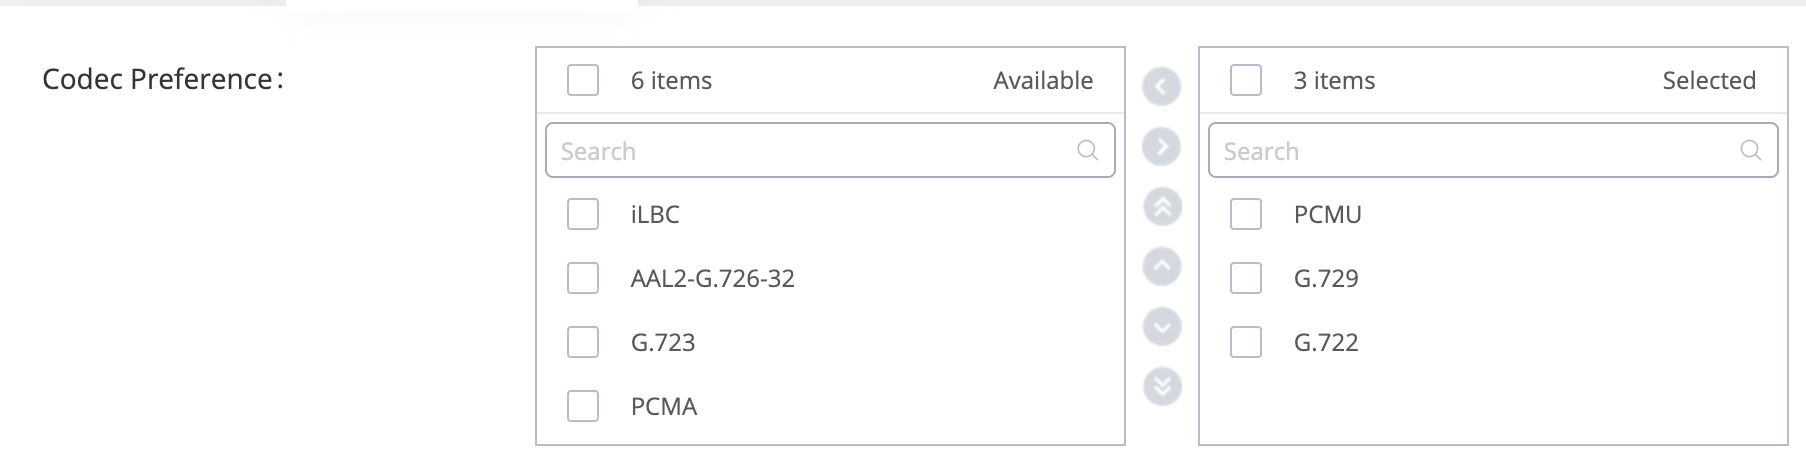
- For codecs, remove all but PCMU, G729 and G722 from the Selected section.
- Enable Outbound Proxy Support and enter in the outbound proxy of sip.siplogin.ca

-
Set the maximum number of call lines to the number of channels the trunk is subscribed to.

- Leave all other settings at their defaults and press save.
- Then, press the apply changes button at the top of the screen to apply the changes.

Confirm Successful Registration
- From the left-hand menu, navigate to System Status -> Dashboard.
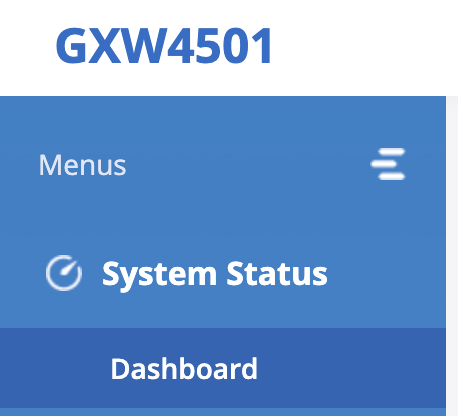
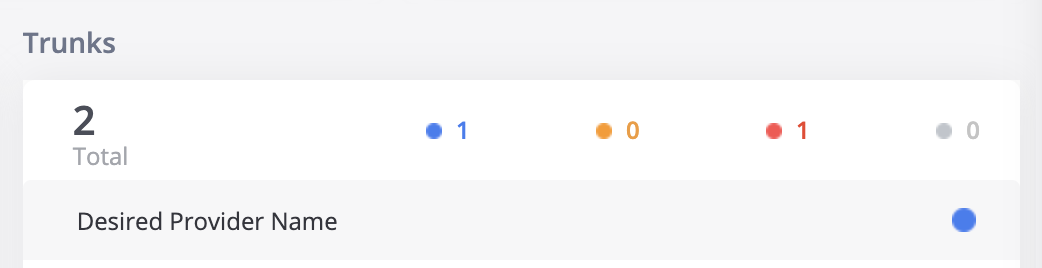
- On this page, in the bottom right hand corner there is a section for Trunks. Locate your new trunk and confirm the status is showing as Blue. This indicates it successfully registered to our servers.
Digital Trunk Setup
Many of these settings will be dependent on the PBX that is being connected. The following are some suggested values that can be changed as needed to meet your requirements. Support will have limited ability to assist with these settings.
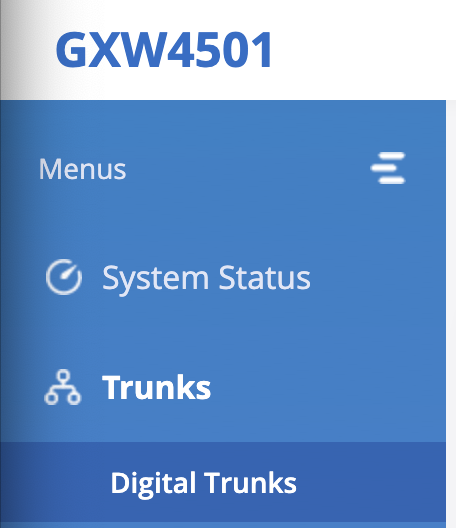
- From the left-hand menu, navigate to Trunks -> Digital Trunks.
- If you have an existing digital trunk, create a new one. Otherwise, edit the default Digital Trunk (Digital_1)
- Set the following values.
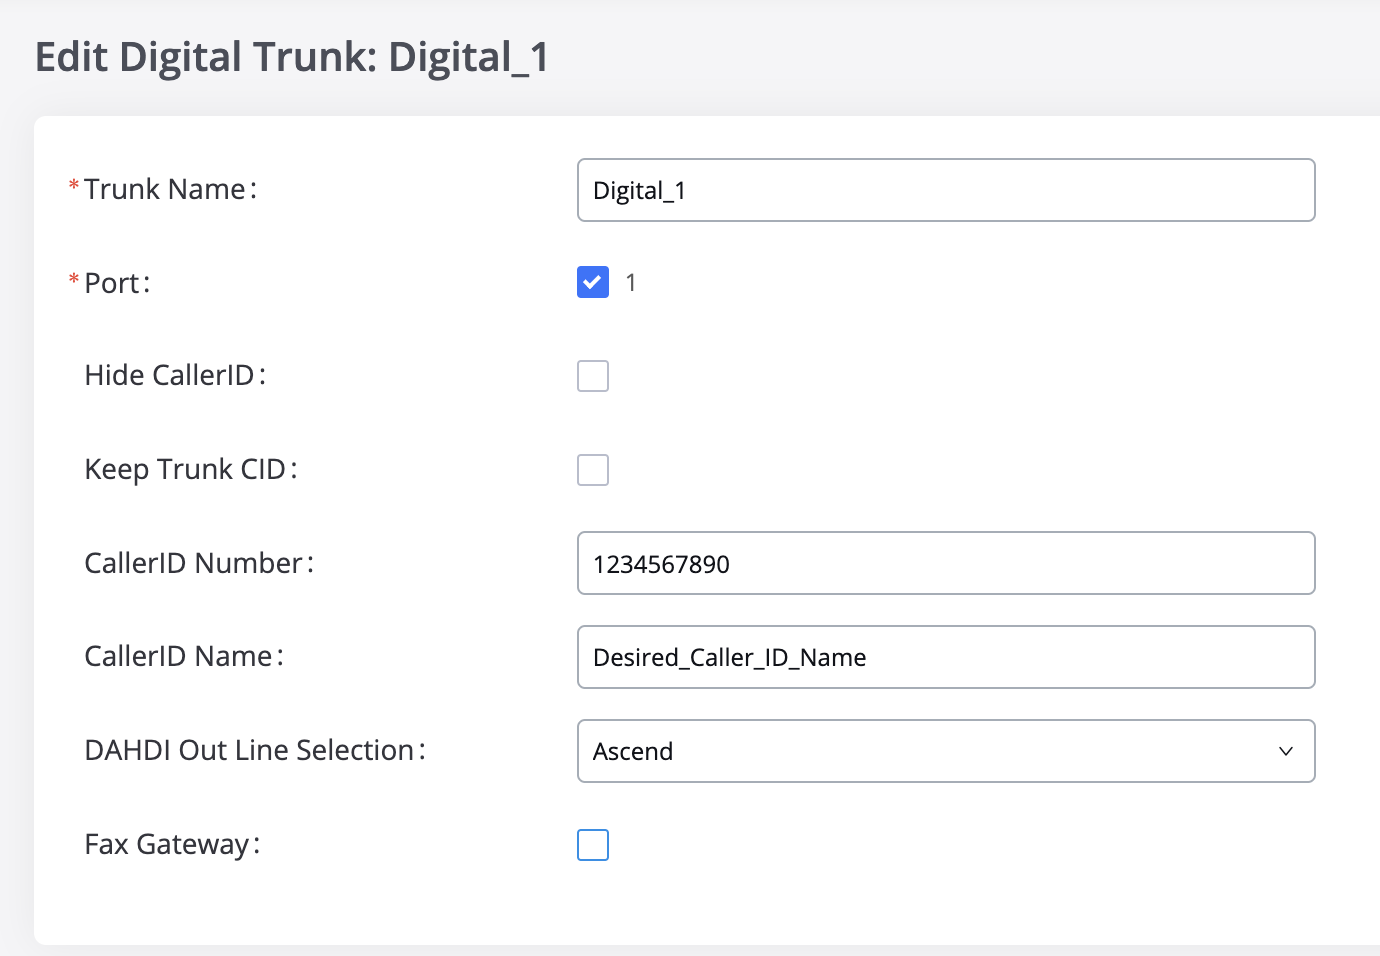
- Trunk Name - Can be any desired name, or left at the default value
- Port - Enabled
- Hide CallerID - Your preference on this setting for how you want to handle caller ID.
- Keep Trunk CallerID - Your preference on this setting for how you want to handle caller ID.
- CallerID Number - Your Desired Caller ID number
- CallerID Name - Your Desired Caller ID Name
- DAHDI Out Line Selection - your preference on how calls will flow
- Fax Gateway - Disabled
- Press Save
- Then apply the changes by pressing the apply changes button at the top of the screen.

Additional settings are under Gateway Settings -> Interface Settings, which controls the analog connection.
Interface Settings
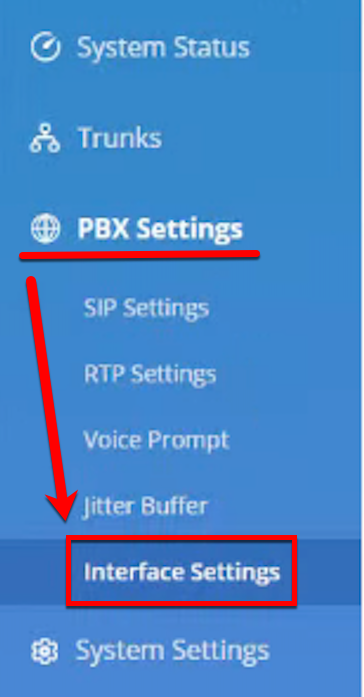
- On the GXW45XX Web UI, go to the PBX Settings menu and click on Interface Settings.
- Ensure that the settings match the legacy PBX. Below is an example that matches a Shoretel System


Inbound Routes
You will need an inbound route both for the SIP Trunk and the Digital Trunk to account for inbound calls from the PBX to the PRI (outbound calls) and from our Servers to the PRI (Inbound calls)
Digital Trunk Inbound Routes
- From the left-hand menu, navigate to Trunks -> Inbound Routes.
- On the right-hand side, from the "Trunks" dropdown, select the Digital Trunk that was created previously.

- Click the Add button.

- Enter the following patterns to allow for 10 and 11-digit inbound from the PRITrunk
_XXXXXXXXXX and 1XXXXXXXXXX
- Press save to save the changes.
SIP Trunk Inbound Routes
- Follow Steps 1 through 3 of the digital trunk inbound routes.
- This time, select the SIP Trunk.
- In the pattern options, enter in all DID's that are assigned to your account to allow for inbound calls to those DID's to reach the system.

If all DID's start with the same NPA or NPANXX, then a wildcard (X) can be used as shown in the example above.
- Press the save button to save the changes.
- Press Apply Changes to apply all changes.

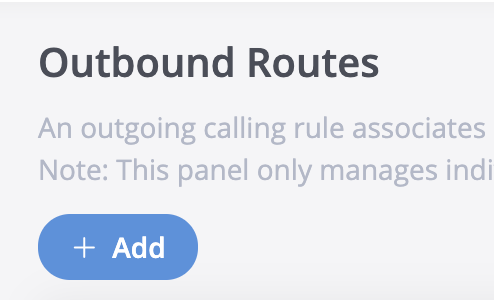
Outbound Call Routes
An outbound route must be set up to send outbound calls from the PBX to the SIP Trunk.
Outbound to PSTN
This will allow for external calls from the PBX to the SIP trunk connection.
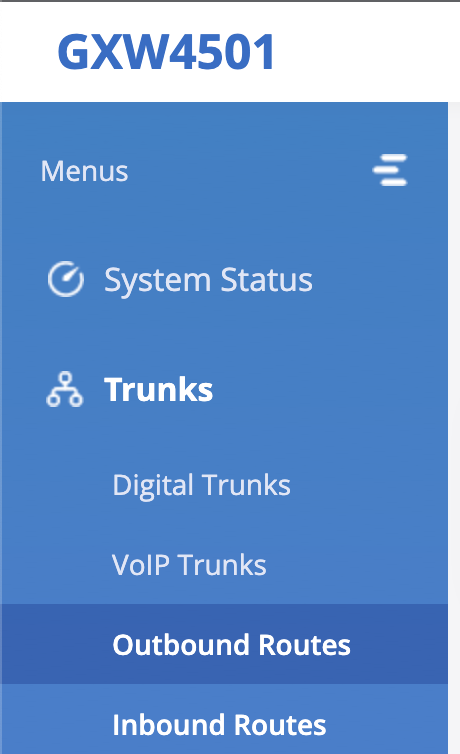
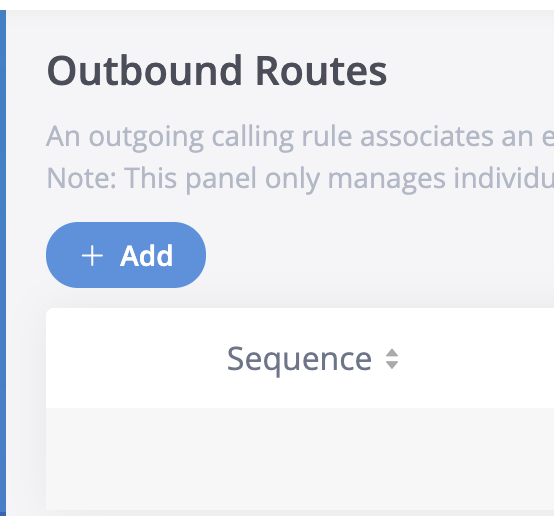
- From the left-hand menu, navigate to Trunks -> Outbound Routes.
- Select the Add button from the new window.
- Enter the following details.
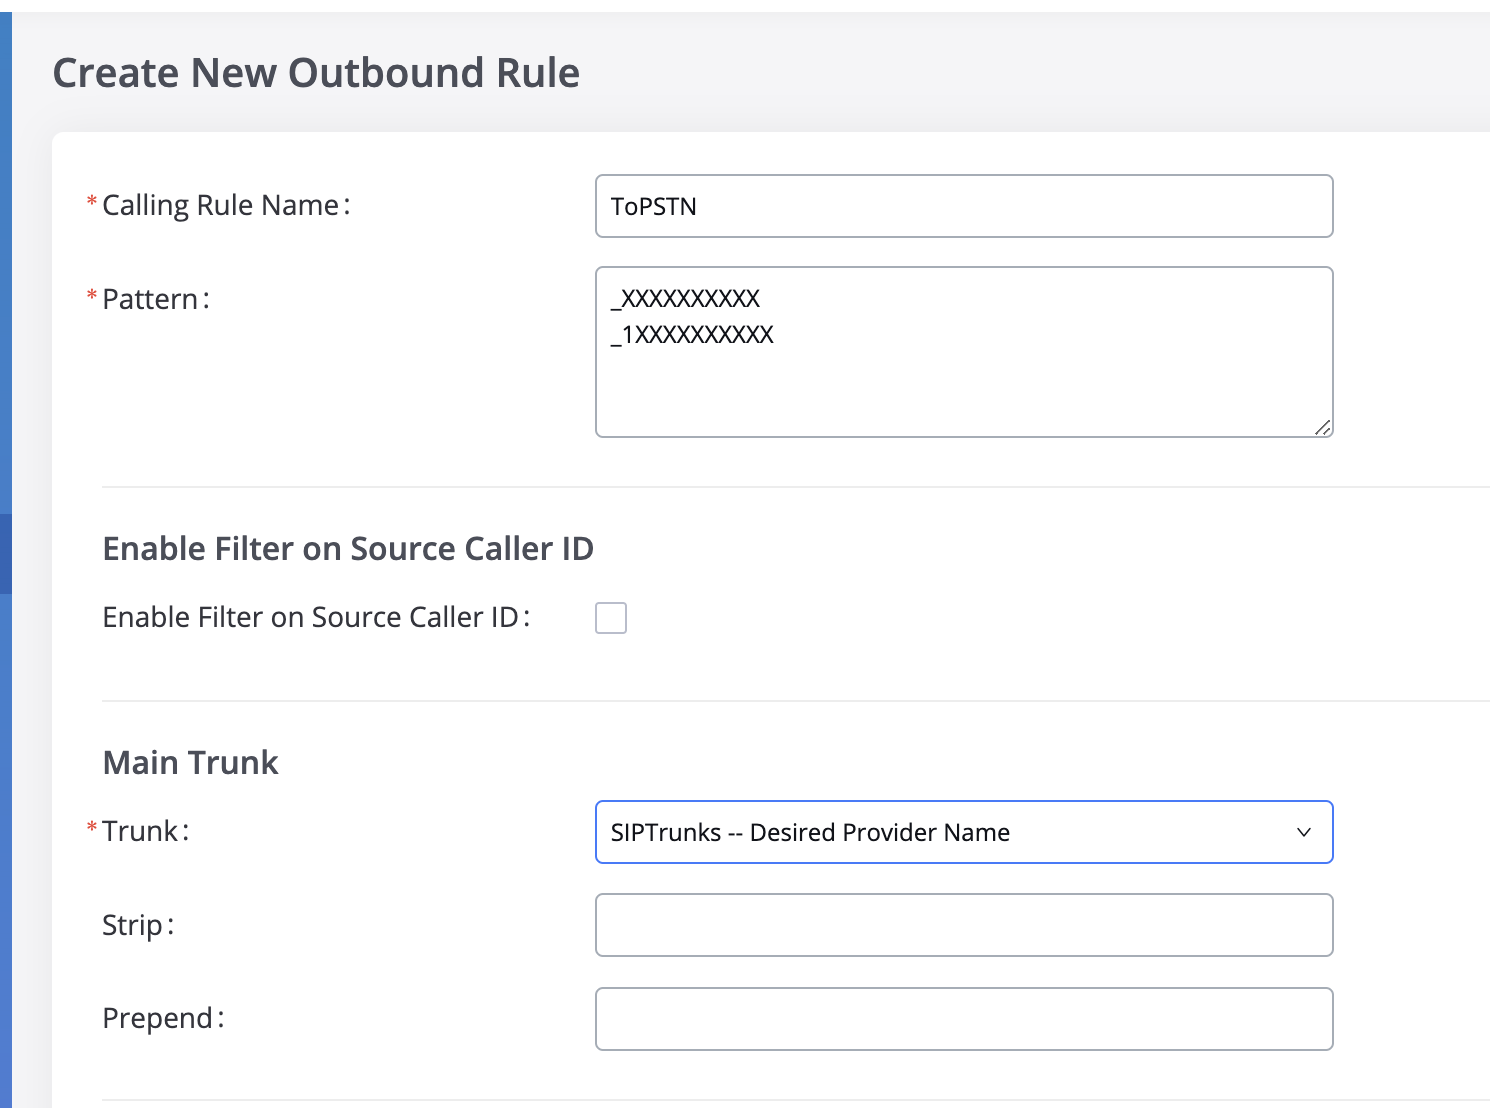
- Calling Rule Name - ToPSTN (but can be any unique identifying name you would like to use)
- Pattern - use _XXXXXXXXXX and _1XXXXXXXXXX to allow for 10 and 11 digit dialling to route to the SIP Trunk
- Trunk - Select the SIP Trunk that was setup earlier.
4. Press save to save the changes.
Outbound to PRI
This will direct calls from the SIP trunk connection to the PBX, essentially handling the inbound calls.
- In the same menu as the previous steps, click Add to add another outbound route.
- Enter the following details.
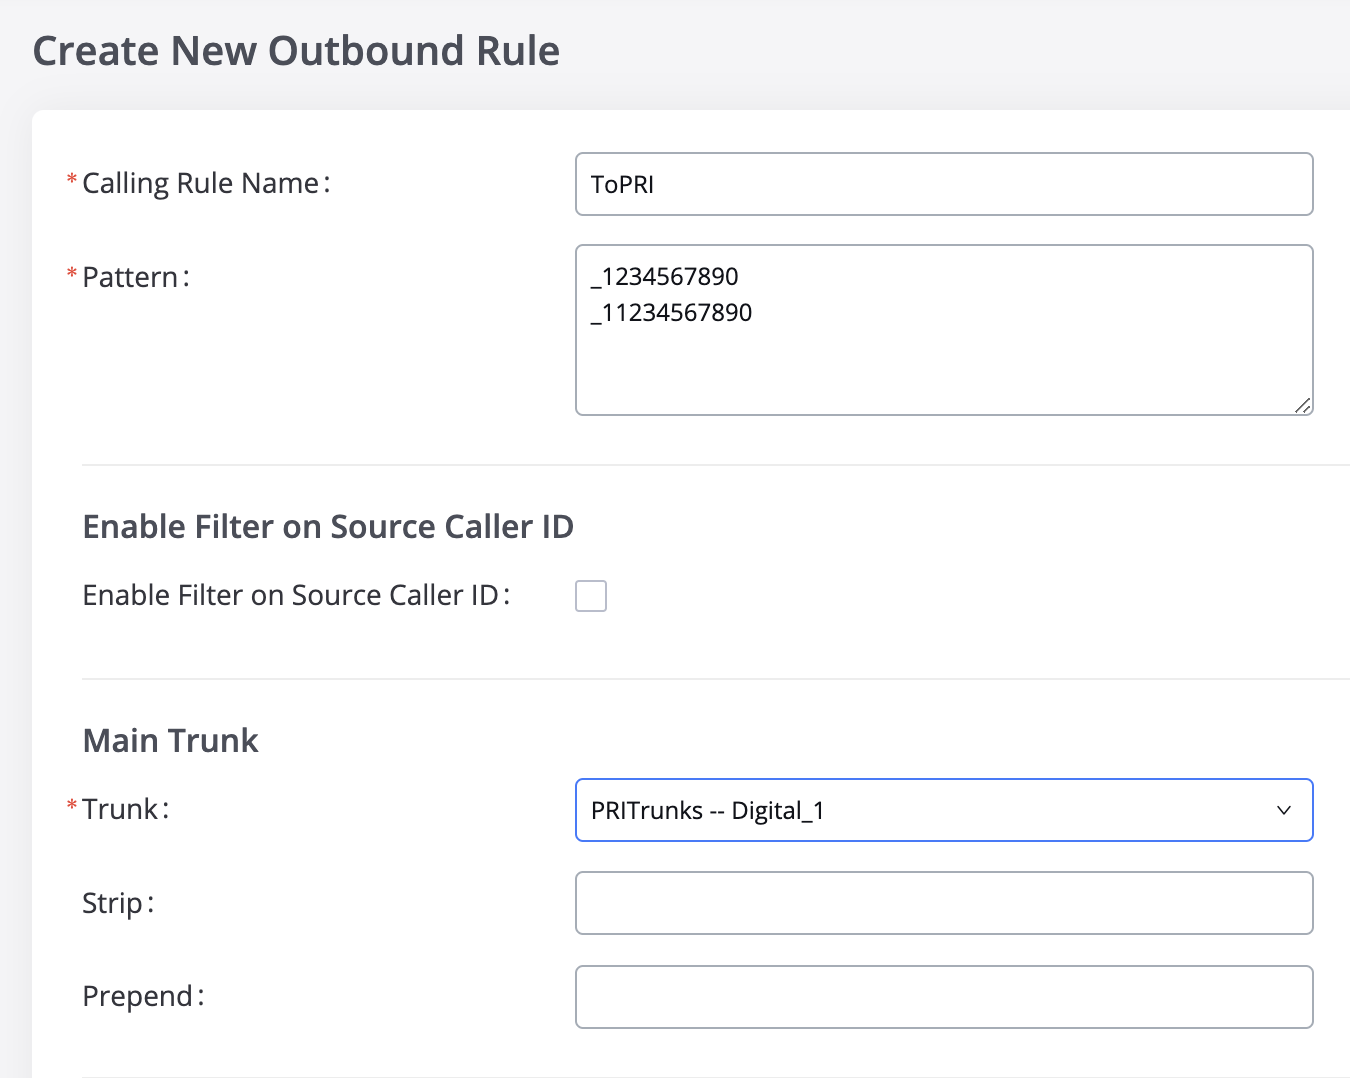
- Calling Rule Name—This is just a reference; it is suggested that you use "ToPRI" to identify the route.
- Pattern - enter all DIDs that are assigned to your account.
- Trunk - select the PRI trunk that was setup previously.
- Press the save button to save the changes.
- Press apply to apply all changes.

You can now make inbound and outbound calls from the legacy PBX to and from the SIP Trunk connection.
Please note that the inbound call routes will work for most setups; additional adjustments may be necessary depending on the client's unique setup.