Granting Consent for Service Providers to Perform Tenant Provisioning
Table of Contents
Troubleshooting StepsWith the release of Microsoft Teams Phone Connector 2.6.0, the Microsoft Tenant Admin can grant consent for Partners (which is presented to the Microsoft Tenant as "Service Providers") to perform Microsoft Tenant Provisioning actions.
NOTE: If the Microsoft Tenant Admin encounters problems when trying to complete these steps, please see the Troubleshooting Steps at the bottom of this article.
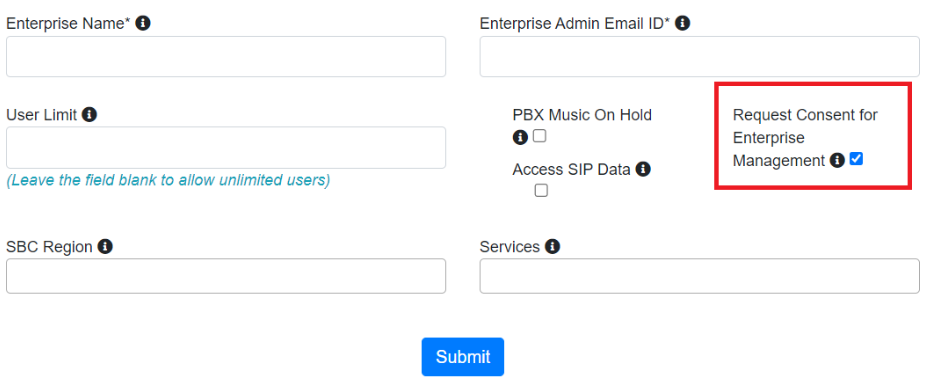
When creating or editing the enterprise in the Service Portal, the Partner can “Request Consent for Enterprise Management.”
- Check the box, then click submit.
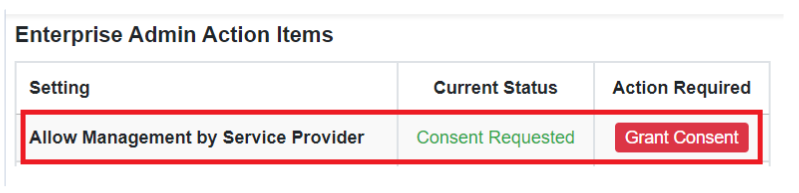
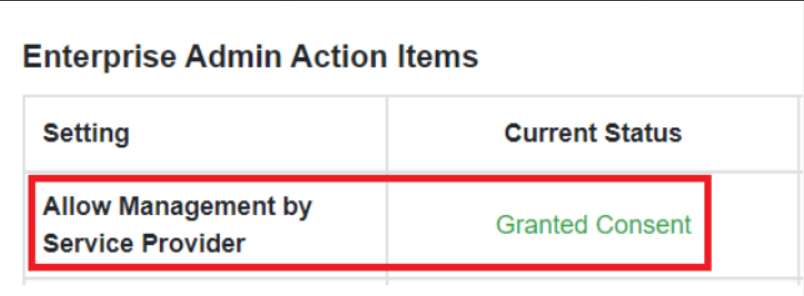
- When the Enterprise Admin logs in to the Enterprise Portal, they will be prompted to Allow Management by Service Provider under Enterprise Admin Action Items.
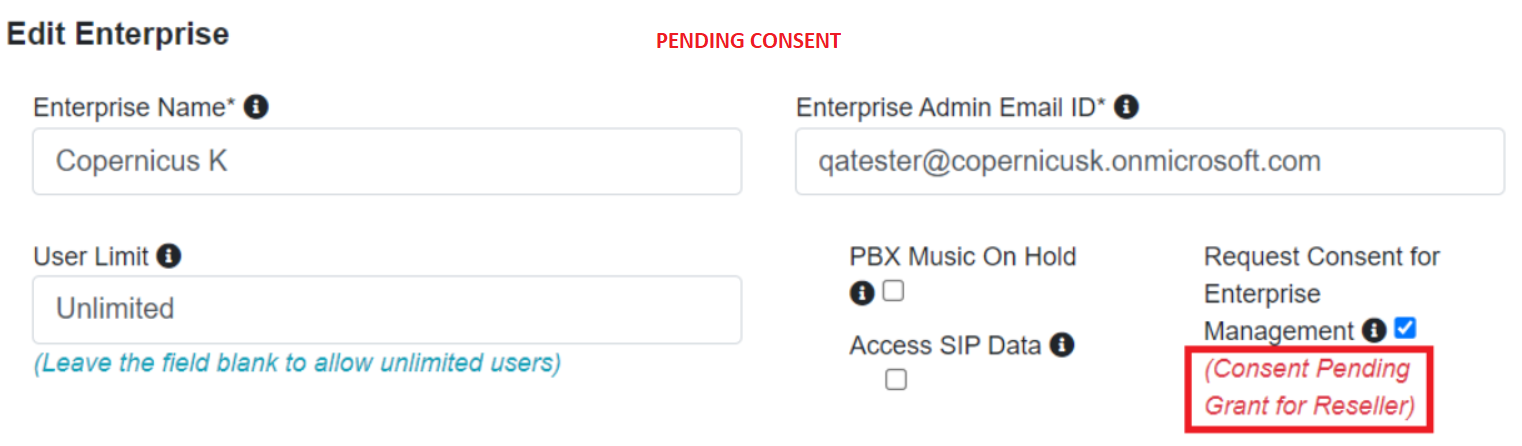
- The Partner can monitor the status of the consent request from the “Edit Enterprise” screen and on the dashboard under Enterprise Admin Action Items.
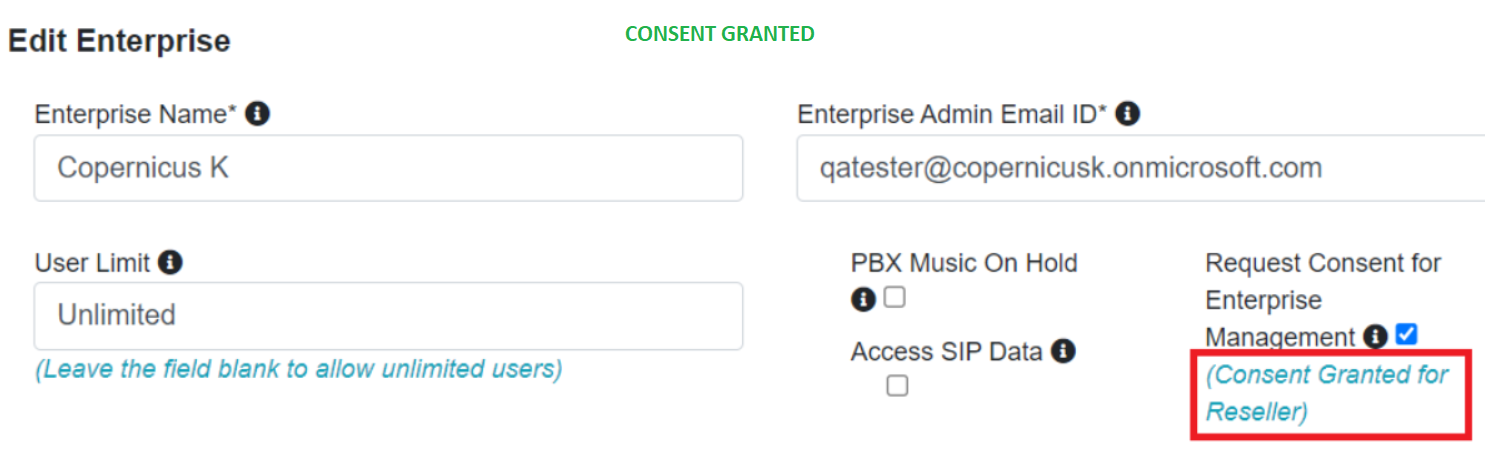
After the Enterprise Admin grants consent, the Partner can perform the tasks enumerated below without additional interaction from the Enterprise Admin.
| Direct Routing |
| Setup Direct Routing |
| Setup Additional Voice Routes |
| Calling (PBX, Trunk, Valet) |
| Sync User to Teams |
| Enable and Disable Calling |
| Set Up Users Individually or via Bulk Upload |
| Edit Valet Service Account details |
Note: With this consent granted, the Partner admin can perform most routine actions that previously required the engagement of the Enterprise Admin. However, certain things still require action on the part of the Enterprise Admin, such as configuring the Valet Service, syncing Apps, and granting of further permissions that may be needed.
Click this link to see the full list of permissions.
Troubleshooting Steps
In certain cases, the Enterprise Admin may face a large error message when they attempt to Grant Consent via the steps above. This error looks like this:
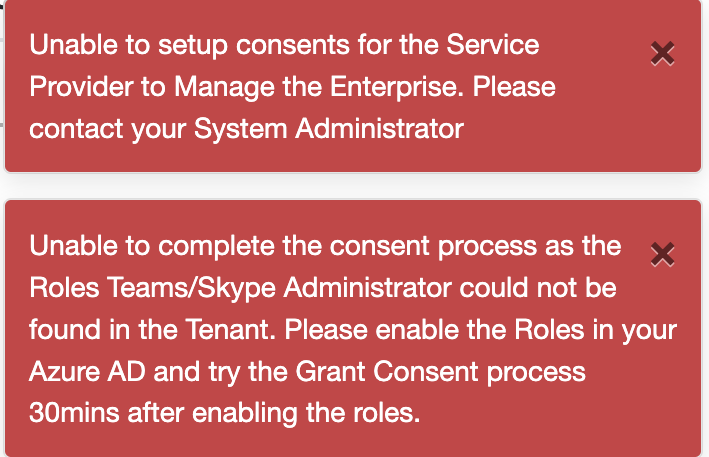
The steps below may allow the tenant global admin to fix settings in their Azure configuration so that the Grant Consent button will work.
The process involves going into the Azure AD / Entra admin center and assigning a Role to the Admin who will (later) perform the Grant Consent.
#1 - Get into Azure AD via the O365 Admin Center
Click the Show All at the bottom of the left navigation pane, and the Azure Active Directory option will appear. Click that which opens Azure AD admin; it might be called "Entra" for reasons known only to Microsoft.
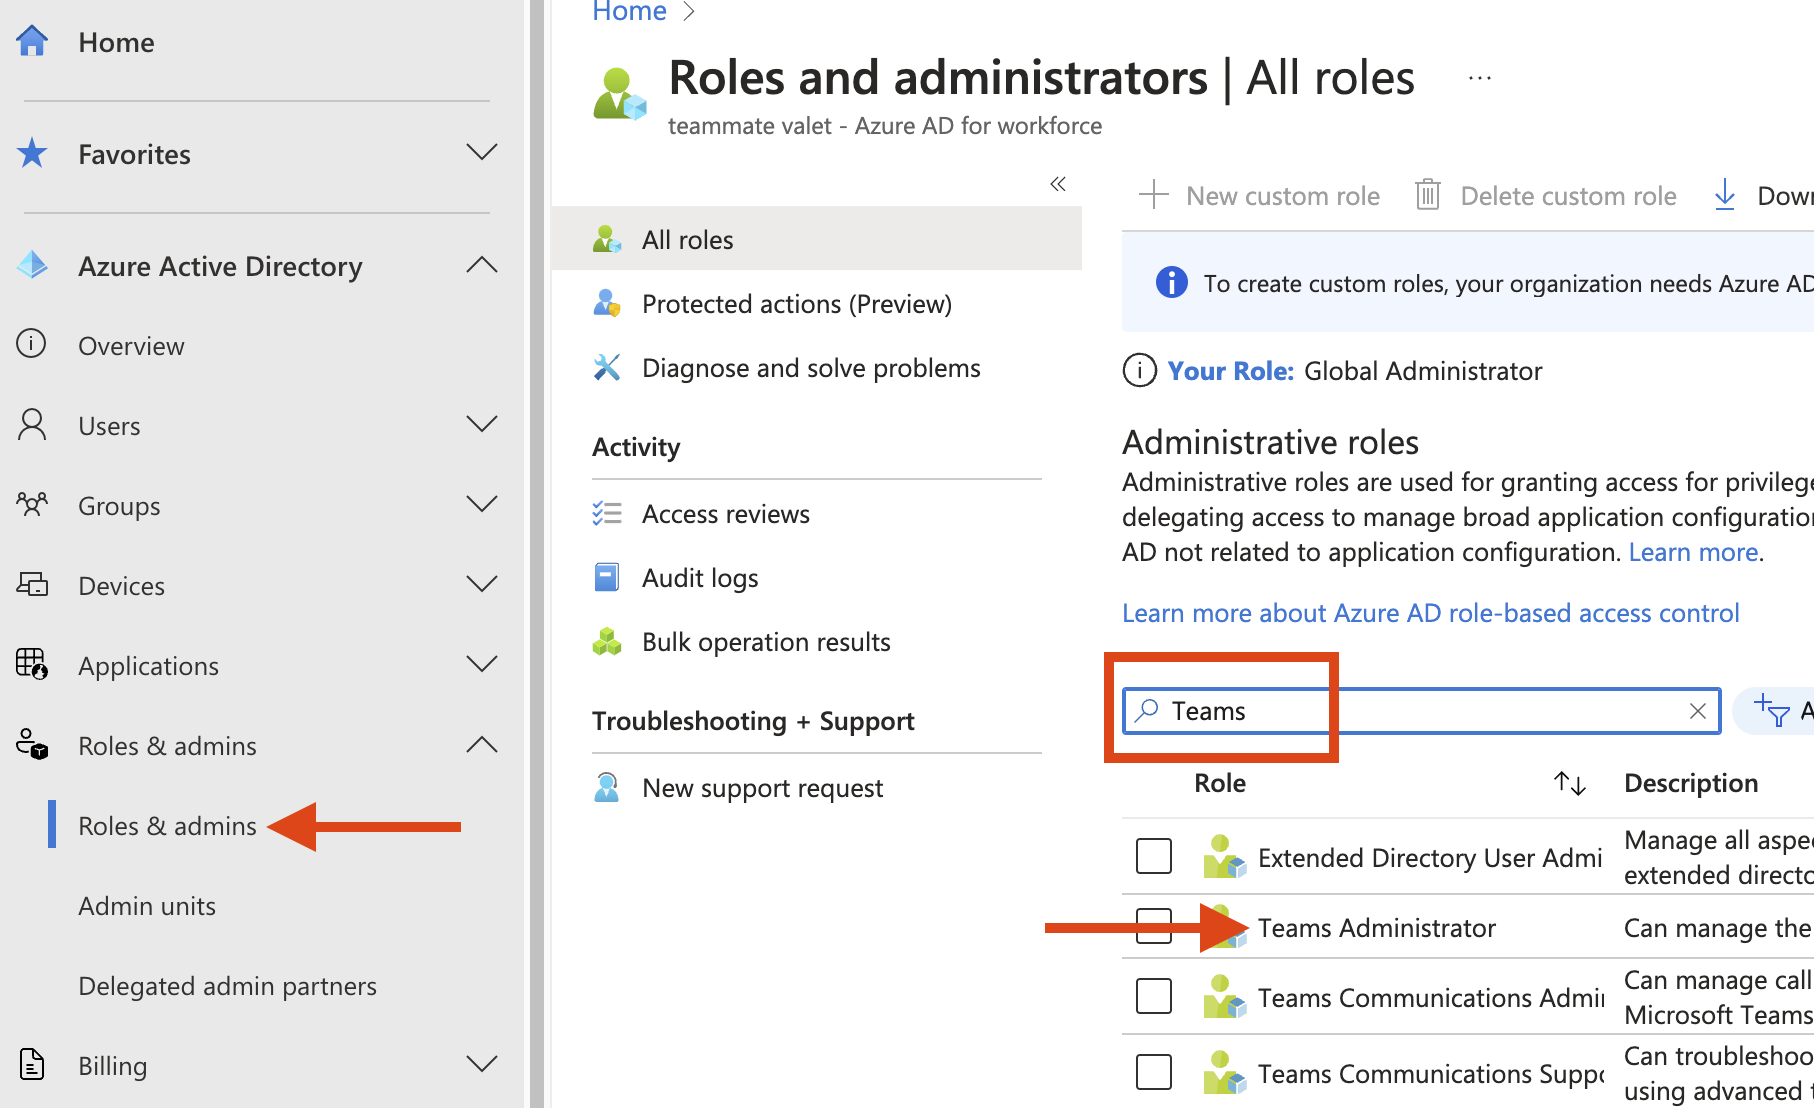
#2 - Get to the "Roles & Admins" page
First, click the Show More link in the left nav pane.
Then, you should see the "Roles & Admins" item. Open it, and click on the Roles & admins choice.
On the new pane, use the search pane to search for "Teams" and then click the Teams Administrator link as shown below.
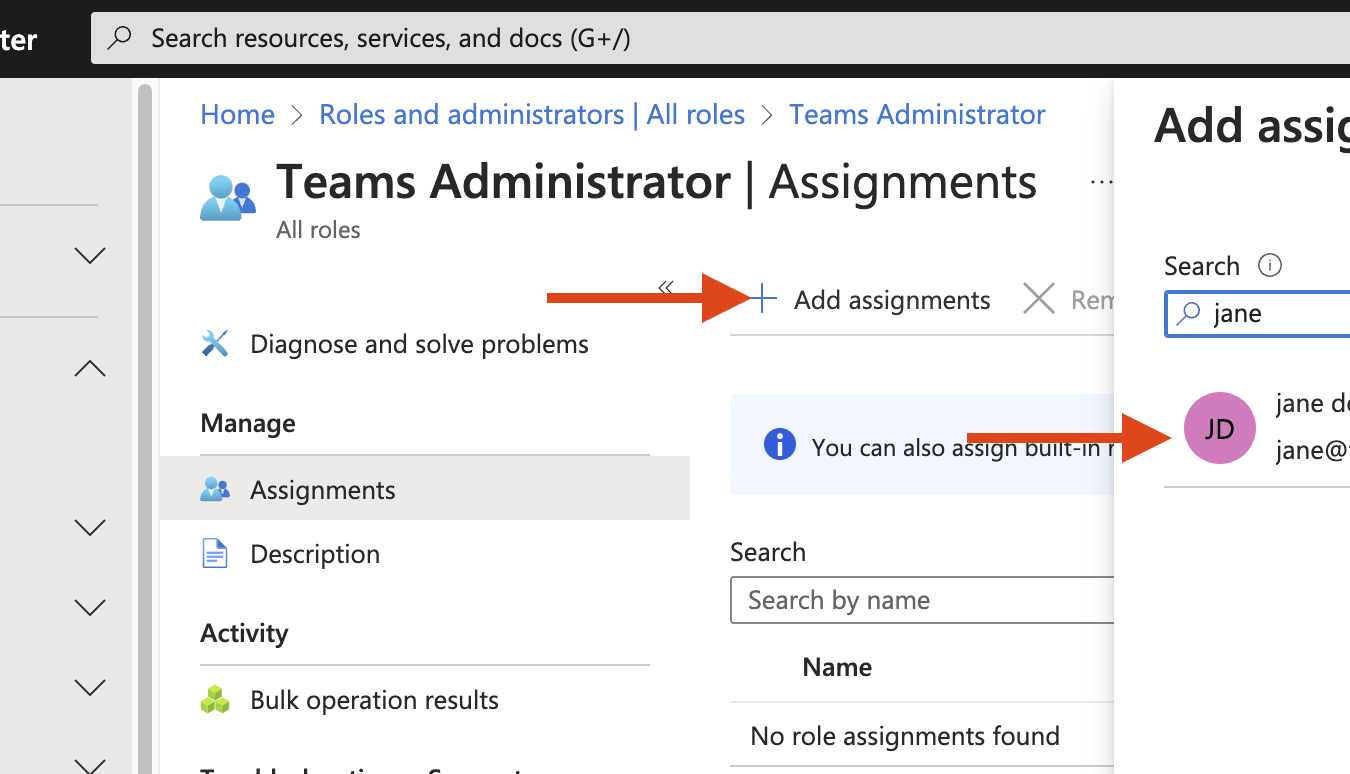
#3 - Add the Global Admin user to the Teams Admin role.
Yes, the Global Admin can already do everything that the Teams Admin can do, but this seems to be some sort of necessary magic for some tenants. When you first get to this page, the list of assignments will probably be empty.
Click Add Assignments. In the popup, search for your user. Click that user, and then save.
Go back to the Enterprise portal and see if you can complete it by clicking the Grant Consent button.