3CX SIP Trunk Setup
Table of Contents
Prerequisites: Preparation and Port Forwarding Remote Access RTP and SIP Firewall Test Add the SIP TrunkPrerequisites:
- Trunk Credentials
- 3CX Software Version 15.5.0 or higher
Tested Version - 16.0.3.676 on July 9, 2020
Notes
DNS-SRV on 3CX versions 15.5.15502.6 and above correctly failover when the first DNS entry is unreachable, but the 3CX system will not recheck the first entry until the second DNS entry is unreachable or the trunk's registration is refreshed. This is a limitation within 3CX, and we are monitoring future releases for any updates/changes to this functionality.
Caller ID must follow the NPANXX standard. The area code (NPA) and NXX must be valid. If the Caller ID is not valid, calls will not route properly and must be corrected before they can be successfully made.
Ensure all outbound parameters below are set correctly; failure to do so may cause outbound call failures.
Preparation and Port Forwarding
You want to ensure these are forwarded 1 to 1 (ie. 5060 forwards to port 5060). Once these are done, you will want to run the firewall tester to confirm that the PBX can access the ports it requires successfully.
Remote Access
If you want to access your PBX remotely (from the Internet), you must forward these two ports. They are optional.
- 5000 TCP
- 5001 TCP
RTP and SIP
- 5060 TCP
- 5060 UDP
- 5090 TCP
- 9000-9255 TCP
- 9000-9255 UDP
Firewall Test
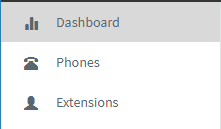
Ensure you are on the Dashboard, located in the top left-hand corner of the screen.
-
You will click on Firewall in the middle of the screen under PBX Status. The first run will show a red circle with an exclamation mark in the middle.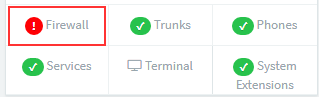
- Select “Run,” and the test will start. All options must be green; otherwise, the SIP trunk will not register or work correctly.

- The firewall icon will turn to a green checkmark once all the tests have successfully run and passed.

Add the SIP Trunk
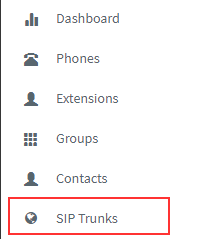
- From the menu on the left-hand side menu, select SIP Trunks
- Click the "Add SIP Trunk" button
- A window will pop up asking for the provider, country, and the Main Trunk No (DID). Once completed, click OK.
-Country – Select “Generic"
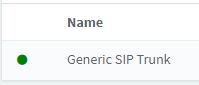
-Provider – Select "Generic SIP Trunk"
-Main Trunk No – enter in the 11-digit DID provided for the created SIP Trunk. - Under Trunk Details, enter a name for the new SIP Trunk and enter the information requested:
- Registrar/Server/Gateway Hostname or IP – transport-tcp.domain.tld (domain.tld = SIP Domain) domain.tld = sip domain
- Outbound Proxy – use sip.siplogin.ca (set port to 0 for DNS-SRV failover to work correctly)
If we don't use transport-tcp it will try to register over TLS and will not receive a response. The PBX uses the following transport strictly in this order without the added override TLS, then TCP, then UDP. This will not work with transport-udp either.
The number of SIM Calls should be set to the maximum number of channels your trunk allows. - Under Authentication, fill in the following:
Type of Authentication – select “Register/Account-based”
Authentication ID – enter your SIP username
Authentication Password – enter your SIP Password
3-Way Authentication – Leave unchecked. - Under Route Calls to, select where you want your inbound calls to route to, otherwise leave these at their default values until an extension has been setup.
- Under "Options" - Advanced:
Ensure "Force Invites to be sent to IP of Registrar" is enabled.
Set "Re-Register Timeout" to 60.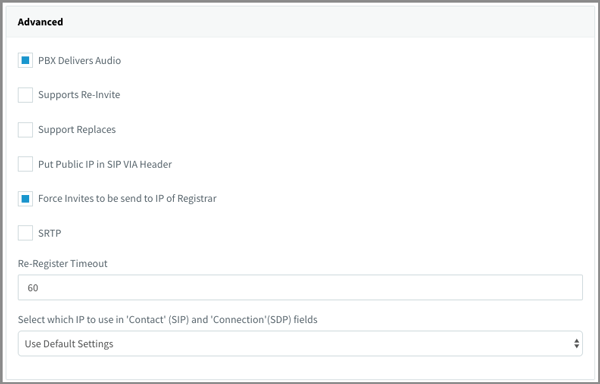
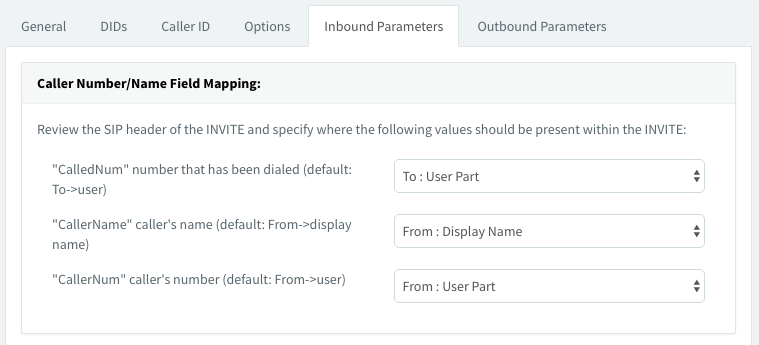
- Under "Inbound Parameters," leave all options at the default value.
- Next, select the "Outbound Parameters" must tab and set the following options:
Request Line URI: User Part – Leave as Default Value"
Request Line URI: Host Part – set to Custom Field and enter the SIP Domain name (domain.tld)
To: User Part - set to "CalledNum" number that has been dialled
From: Display Name - set to "CallerName" caller's name
From: User Part - set to "CallerNum" caller's number.
Example Outbound parameter setup for optimal settings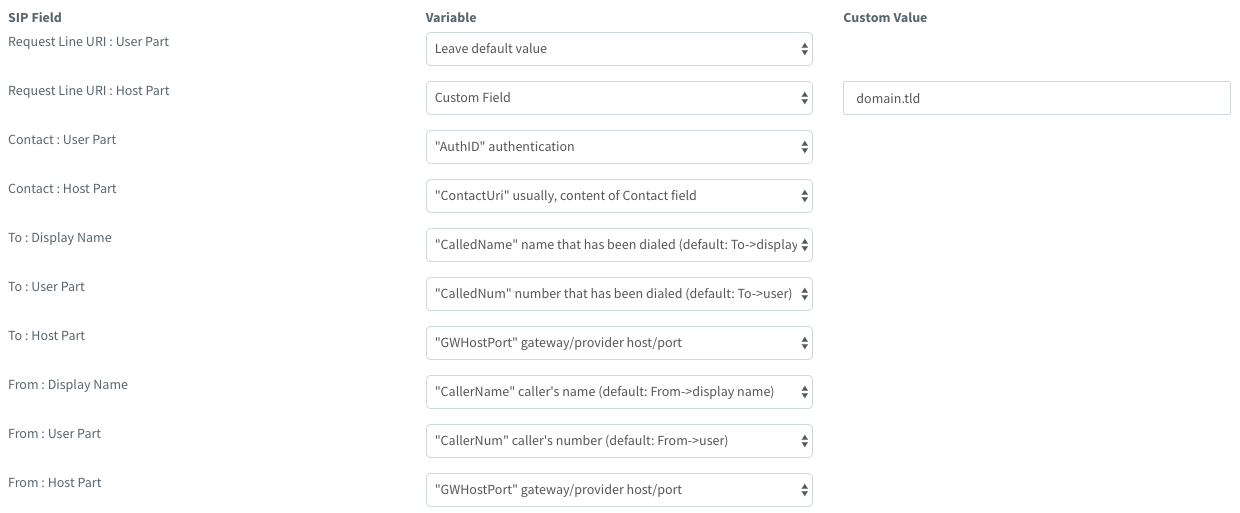
- Click OK at the top of the page to save all your trunk settings.
- from the main SIP Trunk page, where your new SIP Trunk is now listed. Click "refresh registration." If the registration is successful, it will show as a green dot.
If the dot is red or yellow, you will have to review the information you entered to ensure it is correct and try again. - Navigate to Settings -> Network -> Public IP
uncheck the option "Automatically Bind to IPv6 Adapters if present.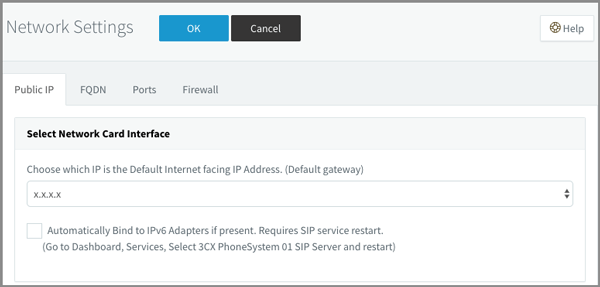
Restart the SIP Service to apply the settings.