Synapse SIP Trunk Setup
Table of Contents
Prerequisites: Tested On: Install the SIP Gateway Setup the Deskset Phone Inbound Routes Outbound RoutesPrerequisites:
- SIP Gateway
- SMB Telephony Deskset
- Up-to-date firmware for both SIP Gateway and Deskset
- SIP Trunk account details
How to setup a Synapse SIP Trunk and the Inbound and Outbound routes.
Tested On:
- Synapse Deskset SB67010 - FW: 3.1.1
- Synapse SIP Gateway SB67070 - FW: 3.1.2
Note: You need both the SIP Gateway and the Deskset phone plugged connected to the same LAN to continue.
Install the SIP Gateway
- Unbox the SIP Gateway and plug in the power and an active internet connection to the LAN port.
The device will power on and go through its boot process. Once it is fully booted, its IP address will be displayed on the screen. - Open a web browser and input the IP address. You will then be asked for a username and password.
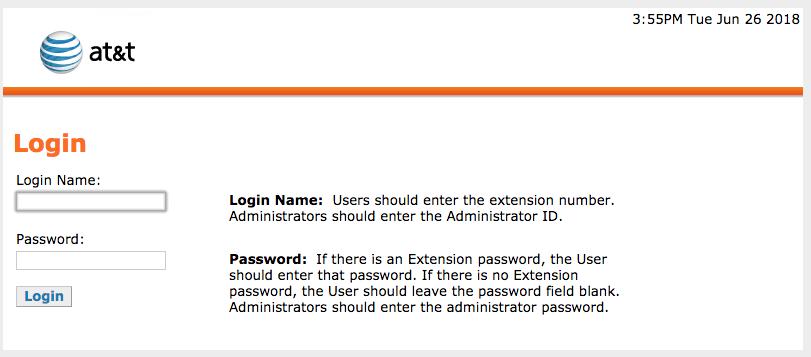
Default username and password - admin:12345 - Once logged in, locate the device management and "updated device." This is where you will check for and apply any firmware updates for the SIP Gateway.
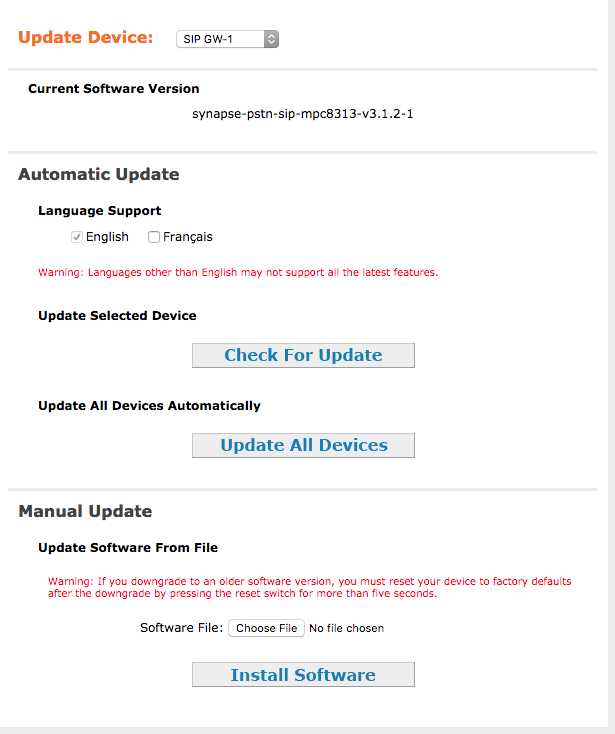
If your screen does not look exactly like this, it is because a SIP Trunk has not been set up yet. - Once the SIP Gateway is updated, you can set up the Deskset phone.
Setup the Deskset Phone
- Plug in the Deskset Phone, go to Menu -> Deskset Information, and locate the phone's IP Address.
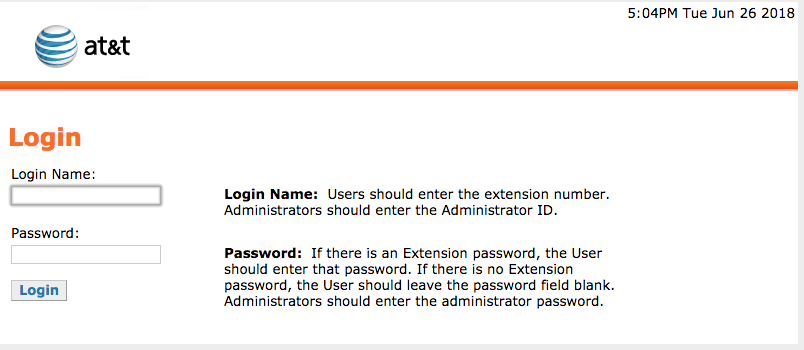
Open a web browser and input the IP address to access the phone's web GUI. - Log in to the phone's admin account.

Default admin username and password - admin:12345 - Once logged in, navigate to SIP Settings -> SIP Account Settings and enter the following.
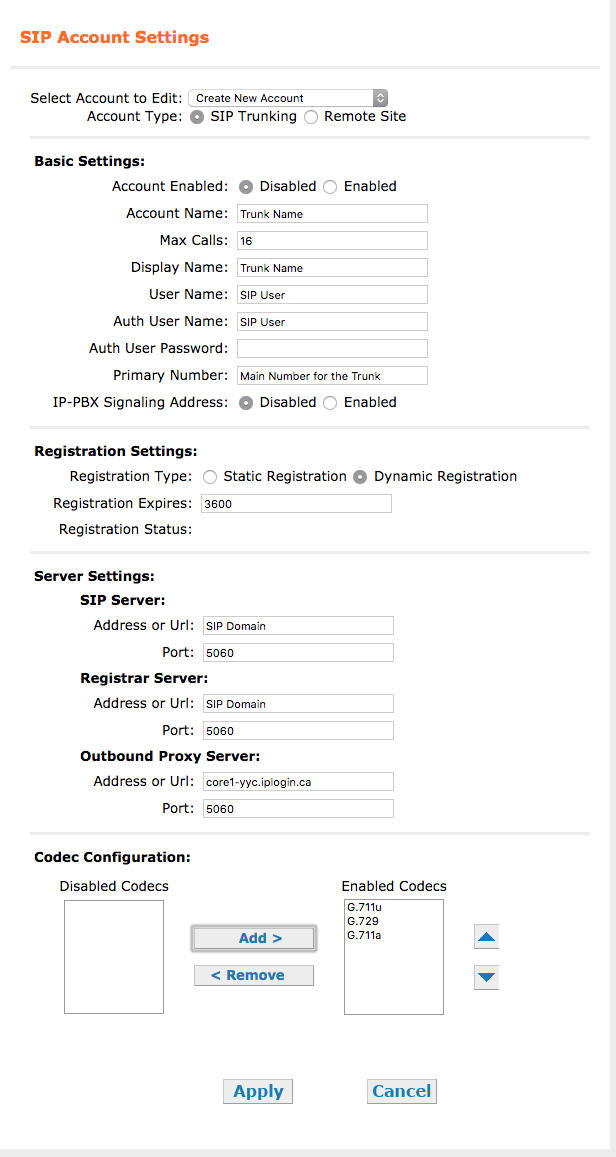
Auth User Password - This is the SIP Password that is provided to you
Codec Configuration - Move the following codecs to the Enabled Codecs list. - Click Apply.
If all the information is entered correctly, you will get a Registration Status of "Registered."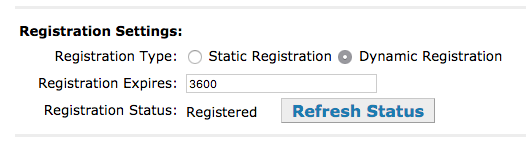
If it does not say "Registered," please go back and double-check that all the information is entered correctly.
Inbound Routes
- Login to the Deskset IP phone web GUI.
If you have changed the default admin username and password, use those credentials, otherwise use the default admin username and password - admin:12345 - Once logged in, navigate to System Settings—Trunk Routing. Here, you can select where your SIP trunk will go. This can be a Call Queue, Auto Attendant, or User Extension. For this setup, we will use a User extension.
Select the Trunk you wish to route and where it will route to.
Click Apply. - Navigate to System Settings -> Direct Inward Dial -> DID Configuration. If you have multiple numbers, please enter the range in "Add Direct Inward Dial Range" Otherwise, input the primary DID into both spots, click "Add," and then “Apply."
- Your Inbound routes are now set up.
Outbound Routes
- Navigate to System Settings -> Dial Plan Settings. This is where you will set your Outbound route settings for when an extension dials a number.
- Set the following in the way you would like your system set up.
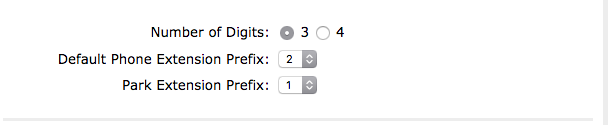
These affect the number of digits the extensions will use and the number of digits new extensions and call parks will start with. - Select your trunk and move it to the "Included Trunks" list.
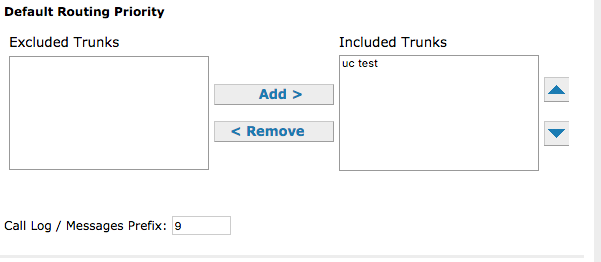
Leave the Call Log/Messages Prefix at the default of 9 - Update the Dialing Rules to match which trunk to use depending on how many digits are entered when dialling. If only one SIP Trunk setup exists, you can leave the route at its default "Default Route Priority."
.
Note: To dial out, the user must dial 9 and then the number with the default Dial Pattern
Once this is set, click "Apply" - If everything is set up correctly, you will now be able to dial an external number. If you can not, please double-check that all settings are set correctly.